Dev environment setup
Devcontainers
We provide a devcontainer configuration that will allow you to automatically setup a development environment for Wolf. The advantage of this solution is that you’ll be running the code in the exact same environment as users of the official docker image, plus you don’t have to worry about setting up the dependencies manually.
The following are a few quickstep to get you started on VSCode:
-
From an empty window open up the Command Palette using kbd:[CTRL+SHIFT+P] and search for
Dev containers: Clone Repository in Container Volume -
Follow the instructions, you’ll be asked to provide the repository URL, branch and so on; when you’ve finished VSCode will start building the container

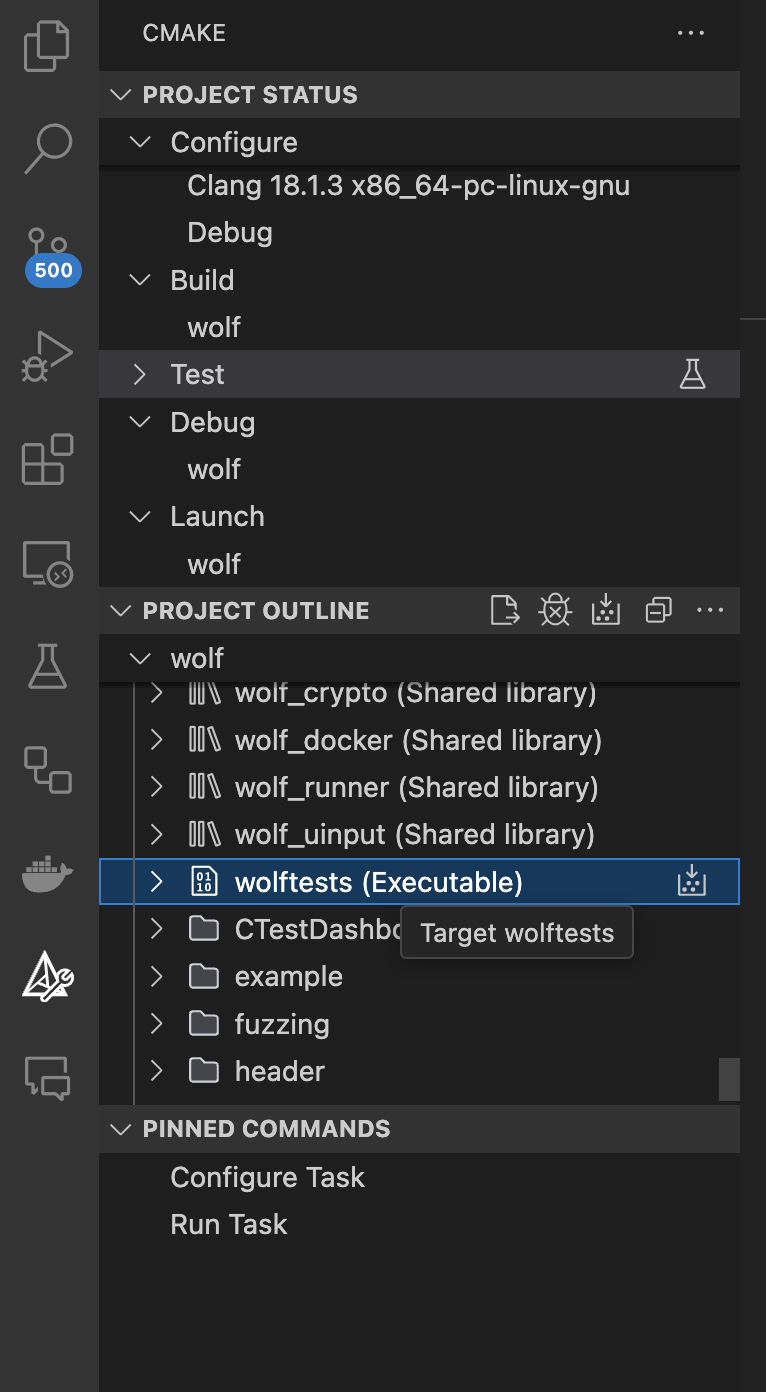
Once the process is over you should be able to see the files on the left panel, and you can start editing the code. Soon enough you’ll get this prompt:

Pick the last option: Clang …. and you’ll be ready to go.
Build and run Wolf
In the bottom left corner of the window you should see these 3 handy little buttons, respectively: build, debug and run

Pressing the play button should compile and start Wolf and you should be able to see the logs in the terminal. To stop it, just press kbd:[CTRL+C] in the terminal.
Manual installation
This has been tested on Debian 12, you should adjust the setup based on your distro of choice. This guide will explain how to build and run Wolf outside of docker, but docker will need to be installed and configured on the host for Wolf to do anything useful. Consult your distribution’s documentation for instructions on setting up Docker.
Install Nvidia driver + cuda
(Only needed on Nvidia hosts)
Please refer to NvidiaGraphicsDrivers for how to install the proprietary Nvidia drivers on your system.
You also have to install Cuda, you can follow the official instructions.
Wolf dependencies
Build Gstreamer
We prefer to build Gstreamer from scratch and place it in a separate folder so that it doesn’t interfere with your system-installed version (if any). This will make sure that you end up with all the required plugins.
apt install -y build-essential ninja-build gcc meson cmake ccache bison equivs \
	ca-certificates git libllvm15 \
	flex libx265-dev libopus-dev nasm libzxing-dev libzbar-dev libdrm-dev libva-dev \
	libmfx-dev libvpl-dev libmfx-tools libunwind8 libcap2-bin \
	libx11-dev libxfixes-dev libxdamage-dev libwayland-dev libpulse-dev libglib2.0-dev \
	libopenjp2-7-dev liblcms2-dev libcairo2-dev libcairo-gobject2 libwebp7 librsvg2-dev libaom-dev \
	libharfbuzz-dev libpango1.0-dev
Please refer to docker/gstreamer.Dockerfile for an up-to-date list of parameters and versions.
git clone -b 1.24.6 --depth=1 https://gitlab.freedesktop.org/gstreamer/gstreamer.git
cd gstreamer
# Setup a place where we'll put the libraries
mkdir -p $HOME/gstreamer/include -p $HOME/gstreamer/usr/local/include
meson setup --prefix=$HOME/gstreamer \
	--buildtype=release \
	--strip \
	-Dgst-full-libraries=app,video \
	-Dorc=disabled \
	-Dgpl=enabled  \
	-Dbase=enabled \
	-Dgood=enabled  \
	-Dugly=enabled \
	-Drs=disabled \
	-Dtls=disabled \
	-Dgst-examples=disabled \
	-Dlibav=disabled \
	-Dtests=disabled \
	-Dexamples=disabled \
	-Ddoc=disabled \
	-Dpython=disabled \
	-Drtsp_server=disabled \
	-Dqt5=disabled \
	-Dbad=enabled \
	-Dgst-plugins-good:soup=disabled \
	-Dgst-plugins-good:ximagesrc=enabled \
	-Dgst-plugins-good:pulse=enabled \
	-Dgst-plugins-bad:x265=enabled  \
	-Dgst-plugins-bad:qsv=enabled \
	-Dgst-plugins-bad:aom=enabled \
	-Dgst-plugin-bad:nvcodec=enabled  \
	-Dvaapi=enabled \
	-Dgstreamer-vaapi:x11=disabled \
	build
meson compile -C build
meson install -C build
This will install libraries and include files under ~/gstreamer, in order for Wolf to pick this up during builing we have to setup the following env variables (you can add them at the end of ~/.bash_rc for example)
GSTREAMER_FOLDER="$HOME/gstreamer"
export PATH="$GSTREAMER_FOLDER/usr/local/bin:$PATH"
export LIBRARY_PATH="$LIBRARY_PATH:$GSTREAMER_FOLDER/usr/local/lib/x86_64-linux-gnu/"
export LD_LIBRARY_PATH="$LD_LIBRARY_PATH:$GSTREAMER_FOLDER/lib/x86_64-linux-gnu/"
export LDFLAGS="$LDFLAGS -L$GSTREAMER_FOLDER/usr/local/lib/x86_64-linux-gnu/"
export CFLAGS="$CFLAGS -I$GSTREAMER_FOLDER/usr/local/include"
export PKG_CONFIG_PATH="$PKG_CONFIG_PATH:$GSTREAMER_FOLDER/usr/local/lib/x86_64-linux-gnu/pkgconfig/"
You can now check that the nvcodec plugin correctly works (only on Nvidia hosts)
GST_DEBUG=4 gst-inspect-1.0 nvcodecAdding GST_DEBUG helps debugging possible issues with this.
Build gst-wayland-display
Install Rust following the official docs.
git clone https://github.com/games-on-whales/gst-wayland-display
cd gst-wayland-display
cargo install cargo-c
mkdir $HOME/gst-wayland-display
cargo cinstall --prefix=$HOME/gst-wayland-display
Like we have done for Gstreamer we are going to install this in a different directory: $HOME/gst-wayland-display in order to keep things clean.
GSTWAYLANDDISPLAY_FOLDER="$HOME/gst-wayland-display"
export LIBRARY_PATH="$LIBRARY_PATH:$GSTWAYLANDDISPLAY_FOLDER/lib/"
export LD_LIBRARY_PATH="$LD_LIBRARY_PATH:$GSTWAYLANDDISPLAY_FOLDER/lib/"
export LDFLAGS="$LDFLAGS -L$GSTWAYLANDDISPLAY_FOLDER/lib"
export CFLAGS="$CFLAGS -I$GSTWAYLANDDISPLAY_FOLDER/include -fPIC"
export PKG_CONFIG_PATH="$PKG_CONFIG_PATH:$GSTWAYLANDDISPLAY_FOLDER/lib/pkgconfig/"
Install Wolf deps
apt-get install -y --no-install-recommends \
    curl \
    ca-certificates \
    ninja-build \
    cmake \
    pkg-config \
    ccache \
    git \
    clang \
    libboost-thread-dev libboost-locale-dev libboost-filesystem-dev libboost-log-dev libboost-stacktrace-dev libboost-container-dev \
    libwayland-dev libwayland-server0 libinput-dev libxkbcommon-dev libgbm-dev \
    libcurl4-openssl-dev \
    libssl-dev \
    libevdev-dev \
    libpulse-dev \
    libunwind-dev \
    libudev-dev \
    libdrm-dev \
    libpci-dev \
Compile Wolf
cmake -Bbuild -DCMAKE_C_FLAGS="$CFLAGS" -DCMAKE_BUILD_TYPE=Release -DCMAKE_CXX_STANDARD=17 -DCMAKE_CXX_EXTENSIONS=OFF -G Ninja
ninja -C build
If compilation completes correctly, you can finally start Wolf.
The built binary can be found at build/src/moonlight-server/wolf
Since Wolf is configured via a swoth of environment variables, it may be a good idea to lanch it via shell script.
#!/bin/bash

: ${WOLF_CFG_FOLDER:-"config"}

XDG_RUNTIME_DIR="${XDG_RUNTIME_DIR:-/tmp/sockets}" \
WOLF_LOG_LEVEL="${WOLF_LOG_LEVEL:-INFO}" \
WOLF_CFG_FILE="${WOLF_CFG_FILE:-$WOLF_CFG_FOLDER/config.toml}" \
WOLF_PRIVATE_KEY_FILE="${WOLF_PRIVATE_KEY_FILE:-$WOLF_CFG_FOLDER/key.pem}" \
WOLF_PRIVATE_CERT_FILE="${WOLF_PRIVATE_CERT_FILE:-$WOLF_CFG_FOLDER/cert.pem}" \
WOLF_PULSE_IMAGE="${WOLF_PULSE_IMAGE:-ghcr.io/games-on-whales/pulseaudio:master}" \
WOLF_RENDER_NODE="${WOLF_RENDER_NODE:-/dev/dri/renderD128}" \
WOLF_STOP_CONTAINER_ON_EXIT="${WOLF_STOP_CONTAINER_ON_EXIT:-TRUE}" \
WOLF_DOCKER_SOCKET="${WOLF_DOCKER_SOCKET:-/var/run/docker.sock}" \
RUST_BACKTRACE="${RUST_BACKTRACE:-full}" \
RUST_LOG="${RUST_LOG:-WARN}" \
HOST_APPS_STATE_FOLDER="${HOST_APPS_STATE_FOLDER:-$WOLF_CFG_FOLDER}" \
GST_DEBUG="${GST_DEBUG:-2}" \
./build/src/moonlight-server/wolfchmod +x runwolf.sh
./runwolf.sh
INFO | Reading config file from: config.toml
WARN | Unable to open config file: config.toml, creating one using defaults
INFO | x509 certificates not present, generating...
INFO | HTTP server listening on port: 47989
INFO | HTTPS server listening on port: 47984